How to Format Windows: A Beginner’s Guide to Operating System Basics
Understanding the Benefits of Formatting Windows
Formatting your Windows operating system can feel intimidating if you are a beginner. However, with the right guidance, the process becomes much easier to understand and manage. Learning how to format Windows properly can help you improve performance, clear unnecessary files, and create a cleaner, more stable system.
Before getting into the steps, it is important to understand why formatting Windows can be useful. The benefits can make a noticeable difference in your overall computer experience:
- Improved Performance: A fresh Windows installation can make your computer feel faster and more responsive. Over time, applications, background processes, and leftover files can build up and slow the system down. Formatting gives your computer a clean start, which can be especially helpful for machines that have been used for several years.
- Enhanced Security: Malware, viruses, and security vulnerabilities are a serious concern in today’s digital world. Formatting Windows can remove harmful software and give you the opportunity to install the latest Microsoft security updates. For example, if your computer was affected by ransomware, formatting can help eliminate remaining traces of the threat.
- Cleared Clutter: Computers often collect unnecessary files, outdated software, and leftover application data. Formatting removes this clutter and gives you a fresh, organized system. With less digital mess, finding files becomes easier and overall productivity can improve.
OFFICIAL MICROSOFT WINDOWS WEBSITE
Key Preparations Before Formatting Windows
Before beginning the actual formatting process, preparation is essential. Taking time to organize your files, tools, and system information can help you avoid problems during installation.
Here are the most important steps to complete before formatting Windows:
- Backup: Always create a backup of important data before formatting. Cloud storage services such as Google Drive and Dropbox, as well as external hard drives, can help protect your files. Make a list of everything you need to save, including documents, photos, videos, and application settings.
- Installation Media: You need a Windows installation USB or DVD to reinstall the operating system. Microsoft’s Media Creation Tool provides step-by-step instructions for creating a bootable USB drive. Make sure the installation media is created correctly and is compatible with your computer.
- Partitioning: Disk partitions help separate different types of data. For example, one partition can hold the operating system, while another stores personal files. This can be useful for future installations and backups. During the Windows installation process, you will often have the option to create, delete, or format partitions.
- System Requirements: Before installing Windows, confirm that your computer meets the minimum requirements for the version you plan to use. Whether you are installing Windows 10 or Windows 11, check that your PC has enough RAM, a compatible processor, and sufficient disk space. This helps prevent installation issues and improves the chances of a smooth experience.
By completing these steps first, you create a stronger foundation for formatting and reinstalling Windows. Careful preparation protects your files, reduces errors, and makes the process much easier to manage.
Preparation for Formatting Windows
Before formatting Windows, there are a few essential steps every user should take. The most important is backing up your files. Store important documents, photos, and other data on an external hard drive or in cloud storage.
It is also helpful to write down software licenses and keep product keys for programs you plan to reinstall later. This prevents unnecessary problems after the format and makes reinstalling your apps much smoother.
READ ALSO: Practical Guide to Buying Your First Laptop: What to Consider
Choosing the Method of Formatting
There are several ways to format Windows, including using installation media, resetting the PC through built-in settings, or using third-party software.
For a standard clean installation, you will need a Windows USB or DVD. The Reset feature, however, allows you to reinstall Windows while choosing whether to keep your files or remove everything. This makes it a more approachable option for beginners who are unsure about what to delete.
| Method of Formatting | Description |
|---|---|
| Using Installation Media | Boot from a USB or DVD and follow the prompts to format and install Windows. |
| Windows Reset Feature | Reinstalls Windows while allowing you to keep your files or remove everything. |
| Third-Party Software | Uses software tools to format drives and create a more organized structure. |
Each method gives beginners different levels of control. Understanding the advantages and limitations of each option helps you choose the safest and most appropriate method for your situation.
How to format Windows
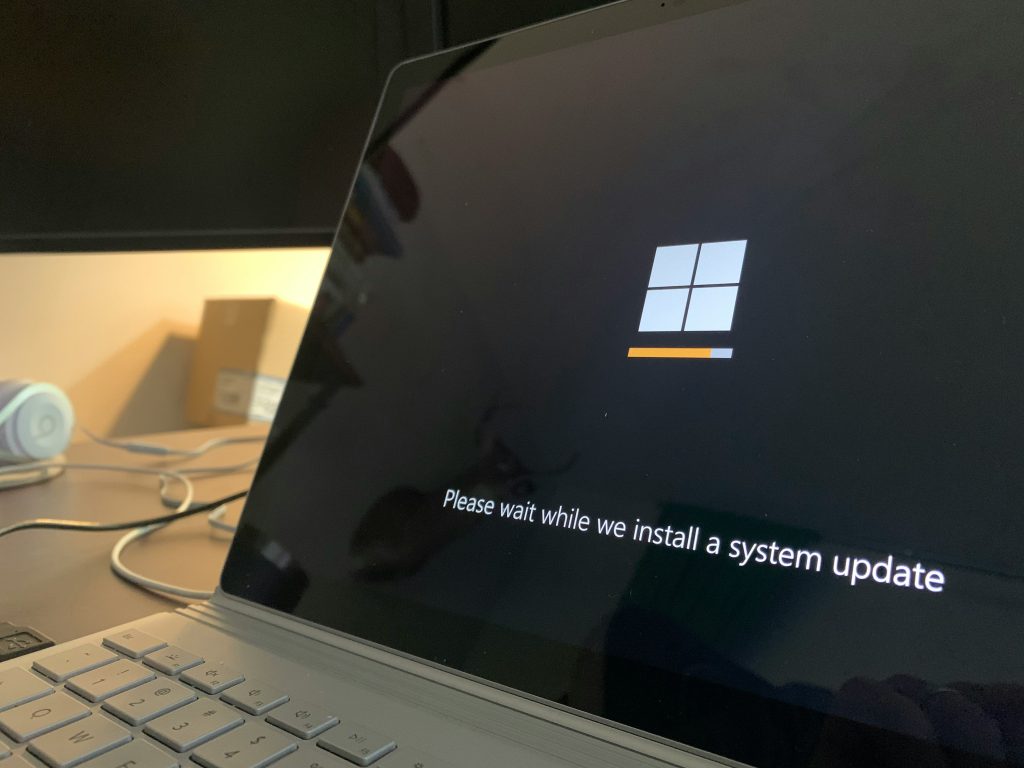
After completing the preparation steps, you are ready to begin formatting Windows. The process may seem complex at first, but following a clear sequence makes it manageable.
OFFICIAL MICROSOFT WINDOWS WEBSITE
Step 1: Booting from Installation Media
The first step is to boot your computer from the Windows installation media. Insert the bootable USB drive or DVD you created earlier, then restart your computer.
During startup, press the correct key to access the boot menu. This key is often F2, F12, Esc, or Delete, depending on your computer. Select the USB drive or DVD from the boot menu. This tells your computer to load the Windows installer instead of starting the current operating system.
Step 2: Starting the Installation Process
Once the computer boots from the installation media, the Windows Setup screen will appear. Follow these steps:
- Select your language, time, and keyboard preferences, then click Next.
- Click Install Now.
- Accept the license agreement when prompted.
- When asked to choose the installation type, select Custom: Install Windows only (advanced).
This option allows you to format the drive and perform a clean installation.
Step 3: Selecting the Partition to Format
Next, you will see a list of available partitions on your hard drive. This step requires caution because formatting a partition will erase its data.
Follow these guidelines:
- Identify the partition where Windows is currently installed. It may be labeled as Drive 0 Partition 1 or something similar.
- Select that partition and click Format.
- Confirm the warning prompts, understanding that this will erase everything on that partition.
- If needed, format other partitions only if you are certain they do not contain important data.
After formatting, you can also create a new partition from unallocated space by selecting New. This allows you to decide how much space to assign to the fresh Windows installation.
Step 4: Installing Windows
After the partition is formatted, select it and click Next. Windows will begin copying files and installing the operating system.
This process can take some time. Let it complete without interrupting the installation. Your computer may restart several times during this stage.
READ ALSO: Practical Guide to Buying Your First Laptop: What to Consider
Step 5: Completing the Installation
Once installation is finished, Windows will open the Out-of-Box Experience, also known as OOBE. This is where you configure your basic settings.
You will be asked to choose preferences such as:
- Language
- Region
- Keyboard layout
- Account settings
- Privacy options
You can sign in with a Microsoft account or create a local account, depending on your preference.
It is a good idea to keep your installation media nearby after setup, as it may be useful for recovery or future updates. After installing Windows, make sure to install the latest drivers and system updates to improve performance and stability.
Although formatting Windows can seem detailed, the result is a clean system and a fresh start. With these steps, even beginners can complete the process with greater confidence.
| FAQ | Simple Answer | Beginner Tip | Why It Matters |
|---|---|---|---|
| What does formatting Windows mean? | It means erasing the current system setup and preparing the computer for a fresh Windows installation. | Always back up your files before starting. | Formatting can remove errors, clutter, and old system problems. |
| Will formatting Windows delete my files? | Yes, formatting can delete personal files, apps, and settings from the selected drive. | Save important documents, photos, and passwords first. | This prevents accidental data loss during the installation process. |
| Do I need a USB drive to format Windows? | In many cases, yes. A bootable USB drive is commonly used to reinstall Windows. | Use Microsoft’s official Windows installation tool when possible. | A proper installation drive helps avoid setup errors. |
| Is formatting Windows difficult for beginners? | It can be simple if you follow the steps carefully and prepare your files in advance. | Read each setup screen before clicking next. | Careful preparation makes the process safer and easier to understand. |
Conclusion
Understanding how to format Windows is a valuable skill for anyone who wants to maintain, refresh, or improve a computer system. This beginner’s guide breaks the process into clear steps, from preparing installation media to completing a fresh Windows installation.
There are many reasons to format Windows, including performance issues, malware infections, or the need for a clean start. Regular maintenance, updates, and driver installations can also help keep your device running smoothly after the format is complete.
Formatting removes clutter and gives you a chance to rethink how your files, apps, and system are organized. Before starting, always remember to back up important data and keep essential product keys or installation files available.
With practice and patience, formatting Windows becomes less intimidating and more like a useful tool for managing your computer. Whether you are new to technology or simply improving your skills, knowing how to format Windows gives you more control over your computing experience.
OFFICIAL MICROSOFT WINDOWS WEBSITE

Beatriz Johnson is a technology writer with an academic background in Digital Communication and Information Technology. She helps beginners understand digital tools, online safety, apps, productivity, and basic tech skills through clear and practical guides.